Installation Guide
DIY vs Professional Grasscloth Installation
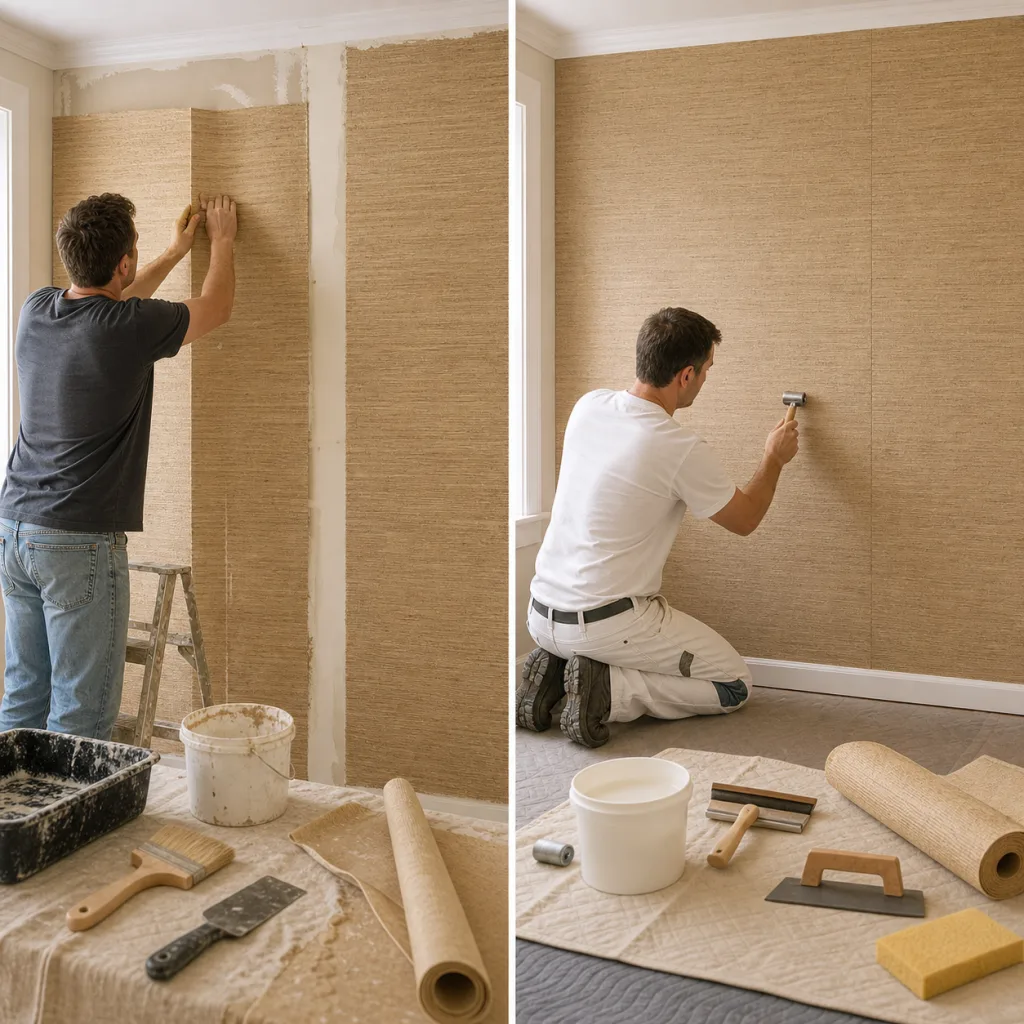
Natural wallcovering is unforgiving — one adhesive smear on the face is permanent. Here's an honest breakdown of cost, risk, tools and skill level to help you decide whether to DIY or hire a professional installer.
Key Takeaways
- Professional installation recommended for all natural wallcoverings — grasscloth is not a first-time DIY project.
- Professional labor: $6–14 per sq ft (varies by region and complexity).
- DIY risk: Adhesive stains on the face are permanent; ruined material cannot be matched from a different dye lot.
- DIY-feasible scenario: Experienced wallpaper hanger + single feature wall + practice strip first.
- Always buy 10–15% extra from the same dye lot — replacements may not match.
- Wall prep matters more than technique — 80% of installation failures are wall preparation failures.
- Reflective materials (mica, gold foil, glass bead) should always be professionally installed.
What Makes Grasscloth Harder to Install Than Regular Wallpaper?
Natural wallcovering has five characteristics that make it dramatically more difficult than standard vinyl or non-woven wallpaper:
- Permanent staining: Adhesive on the fiber face cannot be removed — ever. One smear ruins the panel.
- No repositioning: Once natural fibers contact wet adhesive, you cannot slide or reposition the strip without damaging the backing.
- Visible seams: Every seam is visible by nature. Poor alignment or overlap is immediately obvious.
- Moisture sensitivity: Natural fibers expand when wet and shrink when dry. Incorrect handling causes seam gaps after drying.
- Color variation: Each roll has subtle shading differences. Incorrect roll sequencing creates a visible "banding" pattern.
How Much Does Professional Installation Cost?
| Cost Factor | DIY | Professional |
|---|---|---|
| Labor | $0 | $6–14 /sq ft |
| Tools | $50–150 (one-time) | Included |
| Wall prep | $30–80 (primer + compound) | $200–500 (included or separate) |
| Material waste risk | High — mistakes ruin panels | Low — experienced handling |
| Typical room (12 m²) | $100–230 (materials only) | $800–1,800 (labor + materials) |
| Time | 2–3 days (first timer) | 4–8 hours |
The hidden cost of DIY: If you ruin 2–3 strips of grasscloth ($8–18/m²), the wasted material alone can exceed the cost of hiring a professional. And you may not be able to get replacement material from the same dye lot.
When Is DIY Installation Reasonable?
DIY grasscloth installation can work if all of these conditions are true:
- ✅ You have prior wallpaper hanging experience (at least 2–3 successful rooms)
- ✅ You're doing a single feature wall (not a full room)
- ✅ The wall is already smooth (Level 4–5 finish, no texture)
- ✅ The wall has minimal obstacles (no corners, few outlets)
- ✅ You have extra material from the same dye lot for practice strips
- ✅ The material is grasscloth or sisal (not mica, gold foil or glass bead)
If any of these are false, hire a professional.
When Should You Always Hire a Professional?
- Full-room installations — corners, windows and door frames multiply the difficulty exponentially
- Reflective materials (mica, gold foil, glass bead) — these show every imperfection and require expert handling
- Textured walls — skim coating or wall liner installation is a separate trade skill
- Commercial projects — warranty requirements typically mandate professional installation
- High ceilings or stairwells — hanging 3 m+ strips requires a helper and proper scaffolding
- First-time wallpaper installers — grasscloth is the hardest wallcovering to learn on
What Tools Do You Need for DIY Installation?
| Tool | Purpose | Approximate Cost |
|---|---|---|
| Wallcovering smoothing brush | Press material into adhesive (never use a plastic smoother or seam roller) | $10–20 |
| Sharp snap-off blade | Trim top/bottom — change blade after every 2 cuts | $5–10 |
| Short-nap paint roller (¼") | Apply adhesive evenly to wall | $8–15 |
| 4-foot level or laser level | Establish plumb line for first strip | $15–50 |
| Metal straightedge (48") | Guide trimming cuts at ceiling and baseboard | $15–25 |
| Barely-damp sponge | Clean adhesive squeeze-out within 30 seconds | $3 |
| Pencil | Mark strip orientation, numbering and plumb lines | $1 |
| Clear adhesive (PRO-880) | Clear paste that won't stain through porous fibers | $25–40 /gal |
How Do You Find a Qualified Grasscloth Installer?
- Ask for natural wallcovering experience specifically — many wallpaper hangers work only with vinyl and lack grasscloth skills
- Request photos of previous grasscloth work — look for clean seams, consistent color blending, and tight corner work
- Check for WIA certification — the Wallcovering Installers Association (WIA) certifies professional installers
- Get references from interior designers — designers regularly work with skilled installers in your area
- Ask about their adhesive preference — a qualified installer will immediately say "clear adhesive, paste the wall" for grasscloth
Frequently Asked Questions
Can a beginner install grasscloth wallpaper?
We strongly recommend against it. Grasscloth is the most difficult wallcovering to install — adhesive stains are permanent, seams are unforgiving, and mistakes waste expensive material. If you've never installed wallpaper before, start with non-woven or paste-the-wall vinyl to build skills. Practice on at least 2–3 rooms before attempting grasscloth.
How much extra material should I buy?
Buy 10–15% more than your calculated need, always from the same dye lot. Natural wallcovering has batch-specific color variation, so replacement rolls from a different dye lot may not match. Extra material also covers practice strips, cutting mistakes and future repairs.
Is professional installation worth the cost?
Yes, for most projects. The material itself costs $8–18 per m² — ruining 3–4 strips wastes $50–150+ in material alone, which approaches the cost of hiring a professional. A pro also works 3–4× faster, achieves cleaner seams and handles obstacles (corners, outlets, windows) without material damage.
Related Guides
Installation Guide
Full 7-step installation process.
Installation Mistakes
7 errors that ruin installations.
Wall Preparation
How to prep walls properly.
Best Adhesive
Choosing the right paste.
Corners & Outlets
Tricky spots handled right.
Handle Seams
Minimize seam visibility.
Need Installer Recommendations?
Every order includes material-specific installation instructions and a spec sheet for your installer.
Contact Us