Installation Guide
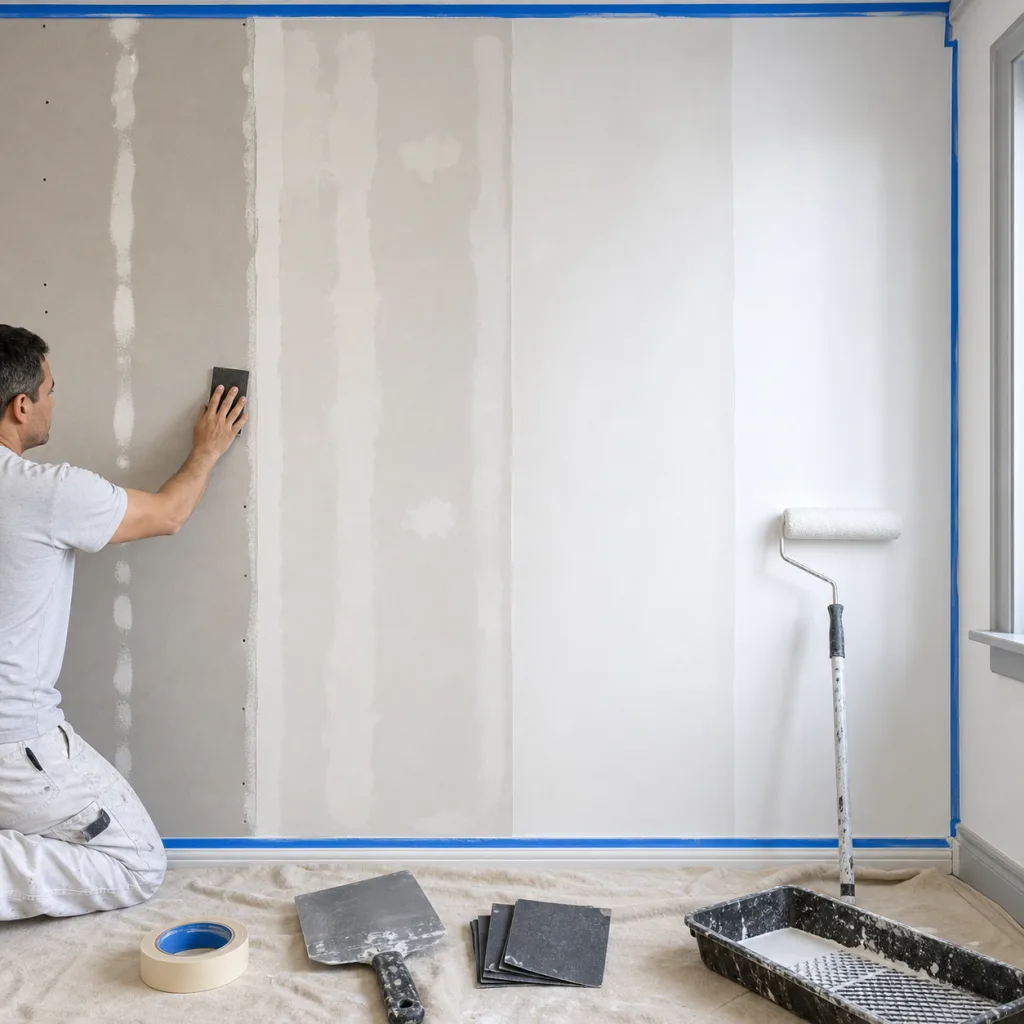
Wall Preparation for Natural Wallcoverings
Poor wall prep is the #1 cause of failed natural wallcovering installations. Here's exactly how to prepare walls for grasscloth, sisal, cork, mica and gold foil — from surface repair to primer selection.
Key Takeaways
- Surface must be smooth — fill holes, sand flush, remove all old wallpaper and adhesive residue.
- Level 5 skim coat recommended for reflective wallcoverings (mica, glass bead, gold foil).
- Use wallcovering primer — not regular paint primer (e.g., Roman PRO-977, Zinsser Shieldz).
- Tint the primer to match wallcovering color — prevents white lines showing at seams.
- Moisture test — walls must read below 4% on a moisture meter before installation.
- Remove texture — orange peel, knockdown, or popcorn texture will telegraph through natural wallcovering.
- Allow 24 hours for primer to fully cure before hanging.
Why Does Wall Prep Matter So Much for Natural Wallcovering?
Natural wallcoverings are far less forgiving than vinyl or non-woven wallpapers. Vinyl is thick, opaque and hides minor imperfections. Natural fibers are thinner, more translucent and conform closely to the wall surface — every bump, dip, tape joint and texture pattern will telegraph through and be visible on the finished surface.
For reflective materials like mica and glass bead, the problem is even worse: their shimmering surfaces amplify imperfections by catching light at different angles across bumps and dips. What would be invisible under matte paint becomes glaringly obvious under a reflective wallcovering.
Proper wall prep typically takes 1–2 days and accounts for about 20% of total installation time — but it determines 80% of the final result quality.
What Finish Level Do You Need?
Drywall finish levels are standardized from Level 0 (bare board) to Level 5 (full skim coat). Natural wallcoverings require at least Level 4, with Level 5 strongly recommended for reflective materials.
| Wallcovering Type | Minimum Finish | Recommended Finish | Why |
|---|---|---|---|
| Grasscloth | Level 4 | Level 4–5 | Woven texture partially hides minor flaws |
| Sisal / Jute | Level 4 | Level 4–5 | Coarser fibers are more forgiving |
| Cork | Level 4 | Level 4 | Thicker material (2–4 mm) hides imperfections |
| Wood Veneer | Level 4 | Level 5 | Smooth veneer shows bumps |
| Gold Foil | Level 5 | Level 5 | Metallic surface amplifies every flaw |
| Mica | Level 5 | Level 5 | Reflective shimmer highlights bumps |
| Glass Bead | Level 5 | Level 5 | Faceted sparkle amplifies texture |
Level 5 means applying a thin skim coat of joint compound over the entire wall surface — not just patching individual spots. This creates a uniform, porosity-free base that ensures consistent adhesive performance and a flawless finish.
How Do You Prepare Walls Step by Step?
Step 1: Remove Old Coverings
- Strip all existing wallpaper completely — use a steamer or chemical stripper if needed
- Remove all adhesive residue — old paste creates lumps and prevents new adhesive from bonding
- If the wall was previously painted with gloss or semi-gloss, sand lightly to create tooth for the primer
Step 2: Repair Surface Defects
- Fill all holes, cracks, nail pops and dents with setting-type joint compound
- Sand repairs flush — run your hand across to confirm smoothness
- Check for popped screws or nails — these create bumps that will show through
- Repair any loose or damaged drywall tape
Step 3: Address Wall Texture
Textured walls — orange peel, knockdown, skip trowel, popcorn — are incompatible with natural wallcovering. The texture will telegraph through and create a rough, unprofessional appearance.
- Light texture: skim coat to smooth (see Step 4)
- Heavy texture: skim coat in 2–3 passes, sanding between coats
- Alternative: install a wall liner paper (bridging liner) over textured walls — this creates a smooth substrate without the labor of skim coating
Step 4: Skim Coat (If Needed)
For Level 5 preparation or textured walls:
- Apply a thin coat of all-purpose joint compound over the entire wall using a 12" or wider taping knife
- Allow to dry completely (typically 12–24 hours)
- Sand smooth with 150-grit sandpaper
- Apply a second coat if needed for uniform coverage
- Final sand with 220-grit for a glass-smooth finish
Step 5: Clean and Dust
- Vacuum or wipe all sanding dust with a barely-damp cloth
- Allow to dry completely — do not prime over dust or moisture
Step 6: Test Moisture
Use a pin-type or pinless moisture meter. Walls must read below 4% moisture content before priming. Excess moisture causes adhesive failure, mold growth and fiber damage. New drywall and fresh plaster need 4–6 weeks to cure before wallcovering installation.
Step 7: Prime
This is the most critical prep step. Use a dedicated wallcovering primer — not standard paint primer:
- Recommended products: Roman PRO-977 Ultra Prime, Zinsser Shieldz, or equivalent
- Apply with a roller in even, full coverage
- Tint the primer to match the background color of your wallcovering — this prevents white wall from flashing through at seam gaps
- Allow 24 hours minimum to cure before hanging
Wallcovering primer serves three functions: it seals the wall to create uniform porosity, provides a consistent adhesive bond, and allows future removal without wall damage.
What About New Construction?
New drywall and fresh plaster require extra attention:
- New drywall: Must be taped, mudded and finished to Level 4–5 minimum. Allow 2 weeks for joint compound to cure fully.
- Fresh plaster: Allow 4–6 weeks minimum for plaster to cure. Test moisture before priming.
- New construction moisture: Buildings under construction often have elevated humidity from concrete, plaster and paint drying. Ensure HVAC is running and humidity is stable before installation.
When Should You Use Wall Liner?
Wall liner (bridging liner paper) is a blank, heavy-duty wallpaper applied under the decorative wallcovering. It's the best solution when:
- Walls have moderate texture that would be expensive to skim coat
- The surface is older plaster with hairline cracks
- You want to create a uniform, smooth substrate without extensive wall work
- The wallcovering is a reflective material (mica, glass bead) that demands perfection
Hang liner horizontally (cross-lining) so its seams don't align with the wallcovering seams. Allow 24 hours to dry before applying the decorative layer.
Frequently Asked Questions
Can I install natural wallcovering over painted walls?
Yes, if the paint is flat or matte finish, well-adhered and in good condition. Sand lightly to create tooth, then prime with wallcovering primer. Glossy or semi-gloss paint must be sanded or deglossed first — adhesive won't bond to a slick surface.
Do I need to remove old wallpaper before installing grasscloth?
Yes, always. Installing over old wallpaper risks bubbling, peeling and adhesive failure. Remove all old paper and adhesive residue completely, repair the wall, then prime.
Why should I tint the primer?
Natural wallcovering seams can shift slightly over time as fibers expand and contract. If the wall behind the seams is white, any gap — even 0.5 mm — creates a visible white line. Tinting the primer to match the wallcovering background color makes seam gaps virtually invisible.
Related Guides
Installation Guide
Full 7-step installation process.
Installation Mistakes
7 errors that ruin installations.
How to Specify
Writing wallcovering specifications.
Mica vs Glass Bead
Shimmer vs sparkle compared.
Gold Foil vs Metallic
Real gold vs printed shimmer.
Grasscloth Guide
Complete grasscloth reference.
Need Installation Support?
We provide detailed installation instructions with every order, including material-specific wall prep requirements.
Contact Us