Designer Resource
Mood Board Guide: Presenting Natural Wallcovering
How to create mood boards that sell natural wallcovering to clients — physical vs. digital formats, material pairing strategies, sample integration and presentation tips that close the specification.
Key Takeaways
- See detailed sections below for comprehensive guidance.
What Should a Wallcovering Mood Board Include?
| Element | Purpose | Source |
|---|---|---|
| Wallcovering texture close-up | Show the weave and fiber detail | Digital sample kit |
| Room visualization | Show material in context | Catalog renders or portfolio photos |
| Color palette | Coordinate with furnishings | Pantone chips or paint swatches |
| Complementary materials | Show the full design story | Wood, stone, textile swatches |
| Physical sample | Touch is essential for natural fiber | Request memo samples (8x10) |
How Do You Create a Physical Mood Board?
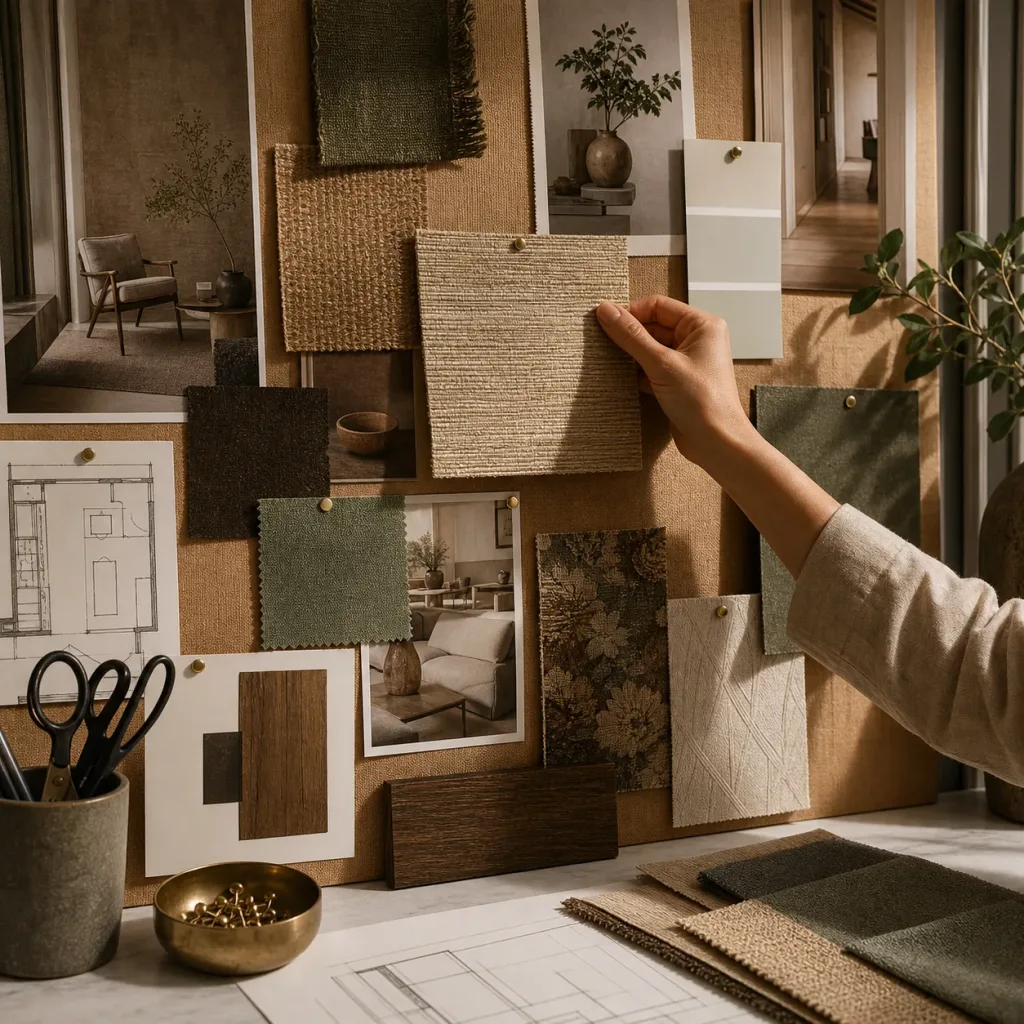
- Start with the wallcovering sample: Mount the actual material swatch — this is the anchor
- Add coordinating paint chips: 2-3 complementary shades for adjacent walls and trim
- Include fabric swatches: Upholstery and drapery that will live alongside the wallcovering
- Add a wood or stone sample: Flooring or furniture finish that completes the material palette
- Include a room photo or sketch: Context for how everything comes together
- Label everything: Material names, sources, specifications — professional presentation
How Do You Present to Different Client Types?
- Residential clients: Lead with lifestyle and mood — "imagine waking up to this texture every morning"
- Commercial/hospitality: Lead with durability, sustainability and ROI — WELL credits, guest experience, 10-15 year lifespan
- Architects: Lead with specifications — ASTM ratings, fire class, dimensions, see specification guide
- Contractors: Lead with installation requirements and material handling — see installation guide
What Are the Common Mood Board Mistakes?
- No physical sample: Digital photos do not convey texture — always include a real swatch
- Too many options: Present 2-3 directions, not 10. Decision overload kills specification
- Wrong lighting: Photograph mood boards under warm, natural light — not harsh fluorescent
- Missing context: Show the material in a room setting, not just as an isolated swatch
Frequently Asked Questions
Should I use physical or digital mood boards?
Both. Start with a digital concept board for initial direction. Follow up with a physical board including actual wallcovering samples — clients need to touch natural fiber to appreciate it.
Where do I get high-res images for mood boards?
Our digital sample kit includes high-resolution texture images cleared for client presentations. Download the catalog PDF or request the full digital kit.
How do I present pricing on mood boards?
Do not include pricing on the mood board — it shifts the conversation from design to budget prematurely. Present the design vision first, then discuss pricing separately with your trade pricing sheet.